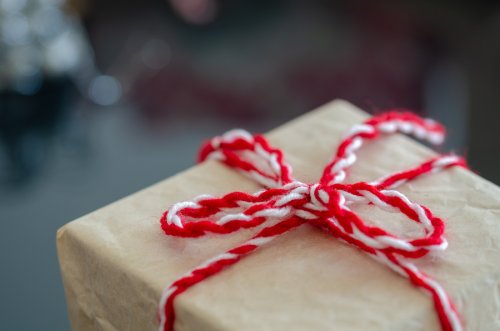
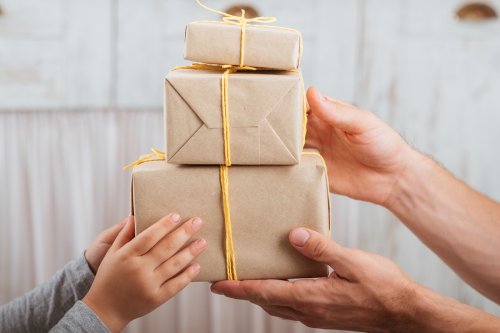
Three Gift Boxes You Can Make at Home

Gift boxes have become one of the trends in giving a gift to a special someone. Even though bags and other packages are still used, many people like the presentation that this alternative offers.
That said, would you like to learn how to make them at home?
Even though there are different designs and sizes at stores, there are some that have more customized ideas that you can make at home. Also, you can take advantage of recyclable materials to make some beautiful boxes. Learn how to make them yourself in this article.
Three Ideas for Gift Boxes
In order to make nice gift boxes, you just need to put your creativity to the test. While there are a few designs that are more tedious than others, in general, they are easy to make and don’t require too much material. The best part is that you can add details that commercial boxes don’t have.
Also, this allows you to save money because there are many materials at home and they can be recycled.
Are you interested to find out more?
If so, take a look at these three interesting options below.
1. Tetra Brik boxes
Tetra Brik gift boxes have a very attractive design that’s similar to milk cartons. In fact, if it’s a small gift, using these boxes can be a pretty good idea. Follow these steps!
Materials:
- Scrapbooking paper (similar to cardboard but with a duplex stamp)
- Ruler
- Scissors
- Pencil
- Puncher
- Glue
Instructions:
- Start by measuring and cutting the scrapbook paper into twelve squares, divided into four columns of three rows. Their sizes can vary according to your preferences or needs.
- Then, make some dashed lines with the puncher and fold them.
- Paste the flap on one side with glue and let it dry.
- After, paste the four loose sides below, to give the box its shape.
- Then, take the top sides and put some pressure on them in order to give the milk carton its shape.
- Bend the edges on the top and, if you wish, hold them together with the clips.
- To finish, just decorate it to your own liking.
Read: Challenge Your Creativity with These 7 Original Ideas to Decorate Bottles
2. Gift Boxes with Plastic Bottles
Using plastic packaging is an idea that’s environmentally friendly.
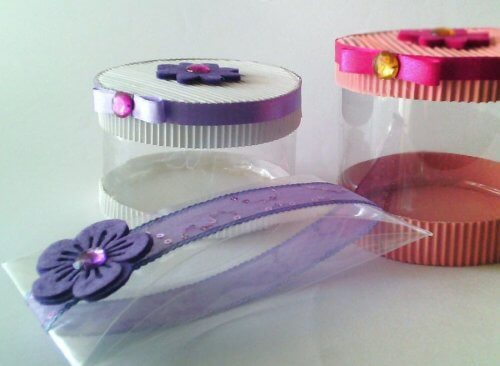
Gift boxes can’t just be made with cardboard materials. If you want to take advantage of this craft that comes from recycled materials in your home, don’t hesitate to make these small boxes with plastic bottles. This material is easy to handle and you can decorate them in many different ways.
Materials:
- Cylindrical plastic bottle
- Corrugated fiberboard
- Scissors
- Silicone gun
- Tape
- Thread, ribbons, and decorative elements
- Iron
Instructions:
- First, take the cylindrical plastic bottle and cut it on the smooth side (leaving the bottom and top part).
- Then, in order to soften the edges, set the iron to medium-high and carefully iron it.
- After, take the corrugated paper to make the box lids. Mark the two edges of the bottle with a pencil and trim them.
- Next, cut a two-centimeters wide strip and use the silicone gun to glue it around the two circles.
- In order to glue the base of the box, use plenty of silicone on one of the flaps inside edges.
- Use the other flap to close the gift box.
- Finally, use the decorative elements to customize it.
Check out this article, too: How to Use Recycled Glass Bottles to Decorate your Garden
3. Cardboard Boxes
Cardboard is one of the most common elements for making original gift boxes.
Overall, cardboard is the most widely used material for making gift boxes. Due to its resistance and shape, it’s one of the best options. Also, it provides the ability to add different accessories. Likewise, it’s good to use recycled cardboard boxes.
Materials:
- Empty cardboard box
- Gift wrapping paper or craft paper
- Glue
- Scissors
- Decorative tape
Instructions:
- Dismantle the empty cardboard box and leave it completely flat.
- Then, spray glue all over the outer surface by trying to put on a very thin layer.
- Immediately place the craft or gift paper on the surface while placing slight pressure so that the paper is securely fastened.
- Let it dry and cut out the leftovers.
- Flip over the box, fold the edges and put it back together.
- To complete this craft, use some ribbons and decorative elements to your own liking.
Have you already tried making them at home? As you can see, it’s easy and fun. Choose the one you like the most and stop spending your money on expensive packages when you can make a nice gift wrapping on your own.
This text is provided for informational purposes only and does not replace consultation with a professional. If in doubt, consult your specialist.