Make a Milk and Gelatin Mask to Remove Blackheads

Reviewed and approved by the doctor Karla Henríquez
Blackheads happen when your skin produces too much oil and accumulates dead skin cells.
They are small blockages in your pores, like pimples. Usually, they show up in the “T” zone of your face (forehead, nose, and chin) and your cheeks.
The appearance of blackheads is related to a lack of facial hygiene. However, they are more common in people who have hormonal imbalances.
Many times, they’re also a reaction to the daily use of cosmetics. Makeup usually leaves chemical residues on the surface of your skin even though it isn’t always visible,
In any case, there are remedies that help to get rid of them and have a face that looks soft and healthy.
In this article, we want to share a recipe for a gelatin and milk mask. Its properties help get rid of blackheads while giving your skin healthy nutrients.
Give it a try!
A gelatin and milk mask that removes blackheads
The gelatin and milk mask is a natural remedy. It encourages the removal of blackheads, dead skin cells, and other impurities. Basically, it targets anything collected on the surface of your skin.
This mask’s combination of ingredients encourages balance in your sweat glands. This is key for reducing your sweat production.
It has vitamins, minerals, and antioxidant substances that promote skin beauty. It does this by preventing the early appearance of wrinkles and problems like acne.
Applying it on a regular basis keeps your skin smooth and hydrated. This is because it acts similarly to other exfoliating products on the market.
The benefits of gelatin

Gelatin is a natural ingredient that is usually used in cooking as the base for dessert and to thicken some recipes.
It is known for its high content of essential nutrients, especially proteins. These have many health benefits.
What some people don’t know is that it’s also beneficial for your skin. This isn’t just because it supports the skin’s regeneration process. It also helps to conserve your skin’s levels of collagen. This prevents premature signs of aging.
It has firming, cleansing, and hydrating properties. Gelatin tones your skin while it removes the impurities that stay in your pores.
This is due, in large part, to its thick texture. Gelatin sticks to your skin without causing irritation. At the same time, it helps with the removal of blackheads.
You might like: 11 Benefits of Clear Gelatin You’ll Want To Know About
The benefits of milk
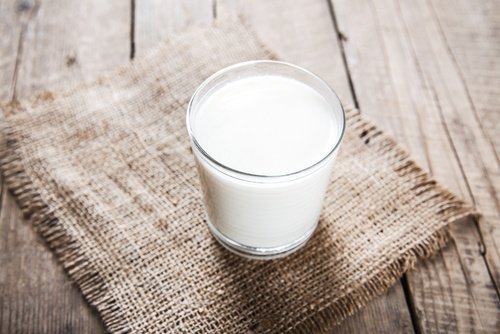
Applying milk to your face on a regular basis helps you to balance the pH of your skin. Plus, it reduces the excessive production of oil and the buildup of dead skin cells.
Its high lactic acid content, along with other vitamins and minerals, helps the cellular regeneration process. Plus, it cleans blocked pores.
Milk’s refreshing action is perfect for calming irritation and redness. This is especially true for those who suffer from chronic acne.
Read more: The 4 Best Facial Peels to Remove Dead Skin Cells
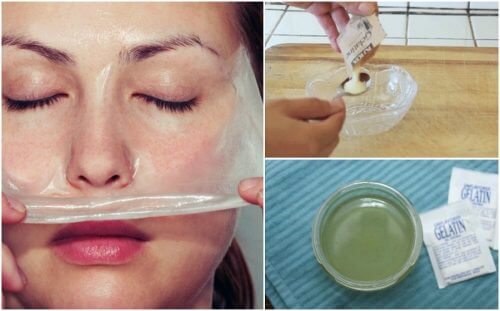
How do you make this gelatin and milk mask?
Making this gelatin and milk mask is rather easy. Plus, it’s very cheap if you compare it to the high prices of similar products.
It is suitable for many skin types because it doesn’t change your skin’s pH or cause excessive dryness.
It can also be used as an exfoliant because it gets rid of dead skin cells.
Ingredients
- 2 tablespoons of unflavored gelatin
- 4 tablespoons of milk
Instructions
- Add the unflavored gelatin to a microwave-safe container. Mix in the four tablespoons of milk.
- Put the mixture in the microwave and let it heat for 10 to 15 seconds.
- After this time, check and see if it’s cool enough to apply.
- If you want the mixture to be thinner and easier to apply, add more milk.
Application
- Take off your makeup. Wash your face with warm water and a neutral soap.
- Spread the mask all over your face. Focus on the areas that are suffering from blackheads.
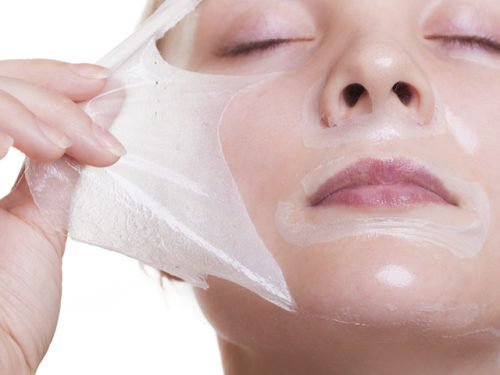
- Let it dry for 40 minutes and then take it off. Start with the edges and work your way inward.
- To finish the treatment, apply a face cream or hydrating toner.
- Use up to three times per week.
Are you ready to try it? If you start to notice that blackheads are starting to take away the beauty from your skin, make this easy mask. Say goodbye to blackheads once and for all!
This text is provided for informational purposes only and does not replace consultation with a professional. If in doubt, consult your specialist.