How to Make a Homemade Facial Cleanser to Remove Dead Cells
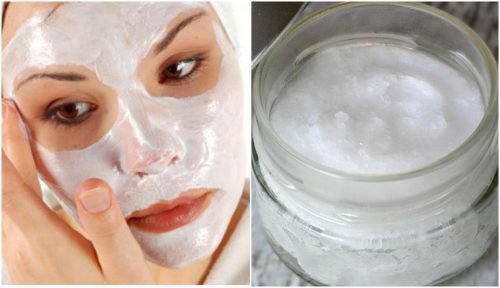
Applying a facial cleanser is one of the most important steps in the skincare routine for men and women alike. These products are designed to remove residues that unfortunately tend to accumulate on the surface and in the pores of the skin.
Among other things, using them prevents the appearance of blemishes, spots and other imperfections which look bad aesthetically.
Also, thanks to the nutrients they provide, they are ideal for protecting the cells from the negative effects of free radicals.
The trouble is that commercial options tend to be very expensive and sometimes contain chemical compounds that cause undesired side-effects.
For this reason, many people are starting to use natural alternatives that, for a low cost, offer similar effects without causing other reactions.
In this blog, we want to share a recipe made with sodium bicarbonate and coconut oil, two ingredients which are widely-known for their benefits for the skin.
Are you willing to give it a go?
A facial cleanser with baking soda and coconut oil
The combination of sodium bicarbonate and coconut oil offers us a facial cleanser which, unlike commercial options, doesn’t contain aggressive chemical compounds.
Its formula is apt for all skin types and, when added to a beauty routine, it helps to give the face a softer and healthier appearance.
Both ingredients act together to regulate the pH of the skin, an important factor to prevent excessive oil production and imperfections.
See also: 6 Face Masks for Smooth Skin
Benefits of baking soda
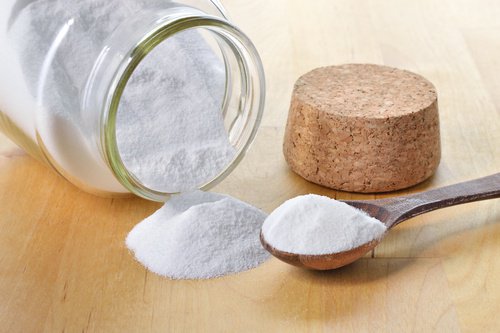
Baking soda has multiple medicinal and cosmetic applications that have been used for hundreds of years.
- Its astringent properties facilitate the cleansing of the skin, minimizing excessive sebum production and the accumulation of dead cells.
- It easily penetrates the pores of the face, which helps to eliminate blackheads.
- Its alkaline action promotes balance in the pH of the face, preventing allergic reactions, infections and other skin alterations.
- It has a mild whitening effect which reduces the appearance of blemishes and scars.
- Its nutrients stimulate cellular activity and prevent premature signs of aging.
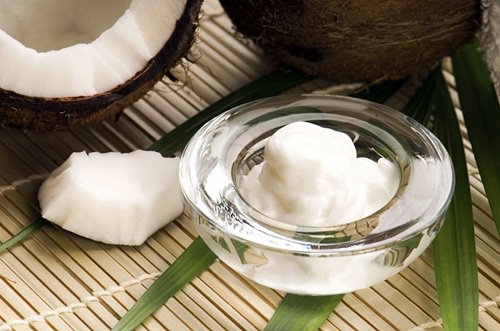
Benefits of coconut oil
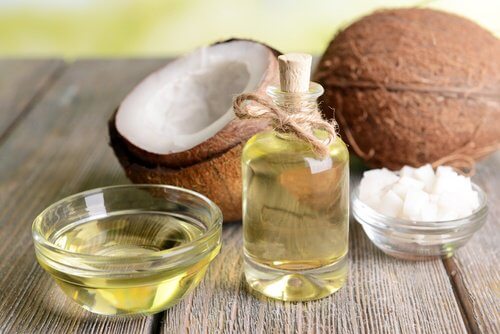
Without a doubt, coconut oil has gained a very important position as an alternative cosmetic product.
- It stands out for its high concentration of medium-chain fatty acids, which help to hydrate the skin without affecting its production of natural oils.
- It contains high-quality proteins which are necessary to stimulate facial regeneration.
- Although its texture is oily, it does not cause alterations to the sebaceous glands nor acne spots.
- Rather, its antibacterial agents clean the pores and prevent the spots caused by some germs.
- It contains a high concentration of antioxidant substances which, when absorbed by the skin, counteract the negative effects of the sun and toxins.
- It is ideal for deeply cleansing the face and eliminating makeup and dust residues that tend to stick to the surface.
We recommend you read: Tea Tree Oil for Fleas and Ticks
How to make this facial cleanser
Preparing this facial cleanser will not take you much time and, above all, will help you save money.
The ingredients can be found in supermarkets and natural health shops, always making sure that they are 100% organic.
Ingredients
- 1/2 cup of baking soda (sodium bicarbonate) (75 g);
- 1 cup of organic coconut oil (200 g).
Utensils
- A heat-resistant container;
- Wooden spoon;
- Jar with a lid.
Preparation
- Put the coconut oil in the heat-resistant container and melt it over a bain-marie.
- When it has melted, add the baking soda and stir with the wooden spoon.
- Make sure it is all mixed in well and leave it to stand at room temperature.
- To finish, put it in a glass jar with a lid and store it in a cool, dry place.
How to apply it
- Take as much of the product as you need and rub it onto your face with gentle circular movements.
- If you like, you can also apply it to areas like the neck and chest.
- Leave the ingredients to act for 5 minutes then rinse with tepid water.
- Repeat 3 times a week, as a deep skin cleansing.
- Use preferably at night.
As you’ve seen, preparing your own facial cleanser is simple and does not require ingredients that are difficult to get hold of.
The best news is that you’ll keep your skin protected and clear of impurities without having to invest too much.
All cited sources were thoroughly reviewed by our team to ensure their quality, reliability, currency, and validity. The bibliography of this article was considered reliable and of academic or scientific accuracy.
Krishna, A. G. G. ., Raj;, G., Singh, B. A. ., Kumar, P. K. P. ., & Chandrashekar, P. (2010). Coconut oil: chemistry, production and its applications. Indian Coconut Journal. https://doi.org/10.1111/j.1751-908X.2004.tb00761.x
This text is provided for informational purposes only and does not replace consultation with a professional. If in doubt, consult your specialist.