Options for Creating Your Own Punching Bag at Home

In this article, we’ll teach you how to build your own punching bag, as this sport has the classic advantages of physical exercise. For example, it helps to reduce the risk of hypertension, type 2 diabetes, and obesity. At the same time, it helps to achieve good rest and favorable changes in mood.
It’s also important to note that another of the advantages of exercise is that it strengthens the immune system, which is essential for dealing with infectious diseases, according to research.
A very practical way to exercise at home is through disciplines such as boxing or martial arts. For this reason, we’ll explain below how to make a completely homemade punching bag. It’s a great option if you have enough space and the possibility of recycling objects you no longer use.
What is a punching bag?
A punching bag is a bag in the shape of a cylinder, filled with various kinds of materials, which you can use to practice punches or kicks.
They’re used in boxing and martial arts practices of various kinds, such as kung fu, judo, karate, and tae kwon do. However, in addition to practicing specific movements, training with these bags helps to relieve stress, burn fat, and build muscle.

Home boxing bag with tires
An excellent alternative to build a punching bag at home is to use old car tires. In this way, we’ll be doing our economy a great favor. In addition, we’ll be helping to take care of the planet a little more.
Materials
To carry out this project, you’ll need the following:
- 4 circular hooks
- A marker
- Washers
- S-shaped hooks
- A drill
- 3 tires
- A ratchet wrench
- A fireman’s hook
- Screws
- Chains
- A combination wrench
- A swivel
- Nuts
Step by step
- Tires: With the drill, make 4 holes in the shape of the + sign in each tire. Then, take 2 of the 3 tires, turn them over, and make the same holes, so that they match the 4 holes on the other side.
- Assembling the parts: Join the 3 tires, using the screws, washers, and nuts.
- Hanging the bag: Attach the chains at one end to the washers already fixed to the tires. At the other end, attach the chains to a fireman’s hook. In turn, you must connect the fire hook to the swivel. Finally, all that remains is attaching support to a sturdy part of the roof.
Another option at home to assemble a punching bag with strong fabric.
Of course, not everyone has 3 old tires at home or can access some to build a punching bag. If it were that simple, the level of pollution on the planet would be much lower.
Nor is it a question of taking the tires off our car. The solution? A sturdy fabric.
Materials
To build a lasting punching bag, we need the following:
- Scissors
- Punch
- Pliers
- Contact glue
- Special needles (stronger and thicker than normal ones)
- Super resistant fabric (it can be synthetic leather or canvas)
- 1 ruler
You may also be interested in: Physical Activity guideline for adults
Step-by-step instructions
- Cuts: Cut the fabric in height and width, according to the desired measurements, to assemble the cylinder. Then, cut the two circles that will be assembled to the cylinder from the fabric; one for the base and one for the lid.
- Form the cylinder: Join the ends of the cut fabric to form the cylinder, using contact glue.
- Sewing: To give the cylinder sufficient strength, it must be sewn in addition to being glued. Before sewing, you can use the awl to make holes in the places where the needles will pass through.
- Assembly: One of the cut fabric circles should be glued to the cylinder to act as a base, using contact glue. And then, to reinforce the resistance, it should be sewn.
- Placement of rings: The rings that will be used to hang the bag are attached to the cylinder near the end opposite the base. As in the previous processes, the rings must be glued and sewn.
- Filling: The sack is then filled with the desired filling. Different fillings will make it harder or softer to punch and this will ultimately depend on the training you choose to apply.
- Placing the lid: Once the cylinder is well filled, the circular cloth lid is placed on it, using the same procedure as you used for the base.
- Hanging the bag: This can be done using chains attached to a support on the ceiling or a sturdy beam.
How can I stuff my punching bag at home?
To build our own homemade punching bag and be able to practice our chosen discipline from the comfort of our home, the above tips aren’t enough.
You’ll need to decide what you’ll use to fill the bag before you even get started. The different types of stuffing will provide you with different characteristics. Although they can vary, here are the most important ones:
- Rags or old clothes: You’ll have to make sure that the clothes are pressed in with the desired consistency. We recommend that you cut the fabrics you’ll be using into equal parts.
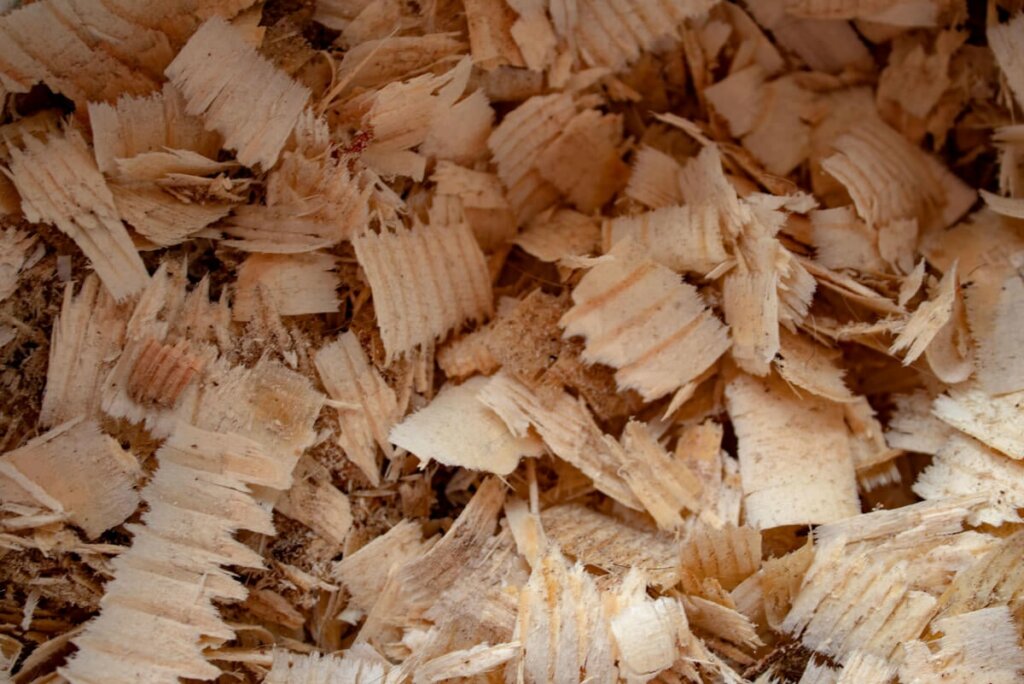
- Sawdust: To increase the consistency of your bag, you can combine different types of sawdust, such as shavings and powders.
- Sand: For this type of filling, we recommend that the sand be very fine; otherwise, it could contain stones.
You can also read: Psychological Benefits of Physical Activity
Considerations when using your punching bag
As we mentioned at the beginning, the benefits of physical exercise in relation to health, whether physical or psychological, are invaluable. However, before you start hitting your homemade punching bag or doing any type of physical training, it would be wise to observe the following guidelines:
- Children and young people between 5 and 17 years old: Experts recommend they perform 1 hour of physical exercise per day, with the intensity being between moderate and strong.
- Adults (18 years and older): Experts recommend they exercise a minimum of 1 hour and 15 minutes consisting of vigorous aerobic exercise or 2 and a half hours of moderate aerobic activity per week.
This way, it’s possible to combat sedentary lifestyles, prevent diseases such as obesity and hypertension, deal with psychological problems such as anxiety or stress, produce deeper rest, and achieve improvements in mood.
All cited sources were thoroughly reviewed by our team to ensure their quality, reliability, currency, and validity. The bibliography of this article was considered reliable and of academic or scientific accuracy.
- Sánchez Ruiz, Rocío. “Efectos del ejercicio físico sobre el sistema inmune.” (2020).
- Rangel Colmenero, Blanca Rocío, Germán Hernández Cruz, and Adrián Geovanni Rosas Taraco. “El ejercicio físico y su relación con el sistema inmune.” Revista de Ciencias del Ejercicio FOD 5.2 (2009): 37-60.
- Universidad Nacional Autónoma de México. Martínez Q., Carina. Vencer al sedentarismo. México 2018.
- Rodríguez, Silvia M. Andia, et al. Manual para entender y tratar el sedentarismo: consejos para mejorar la calidad de vida. Ned ediciones, 2014.
This text is provided for informational purposes only and does not replace consultation with a professional. If in doubt, consult your specialist.