How to Remove Gel Nails Safely at Home
Wondering how to remove gel nails at home? For some time now, this nail trend has been attracting attention because of the elegance and style it brings to the hands. However, no matter how beautiful they may look, gel nails have to be removed after a while.
The drawback is that it is not as easy as with a traditional manicure. There are certain precautions that must be taken into account so that removing them does not damage the surface of the nails. Here, we’ll tell you all about it.
What are gel nails?
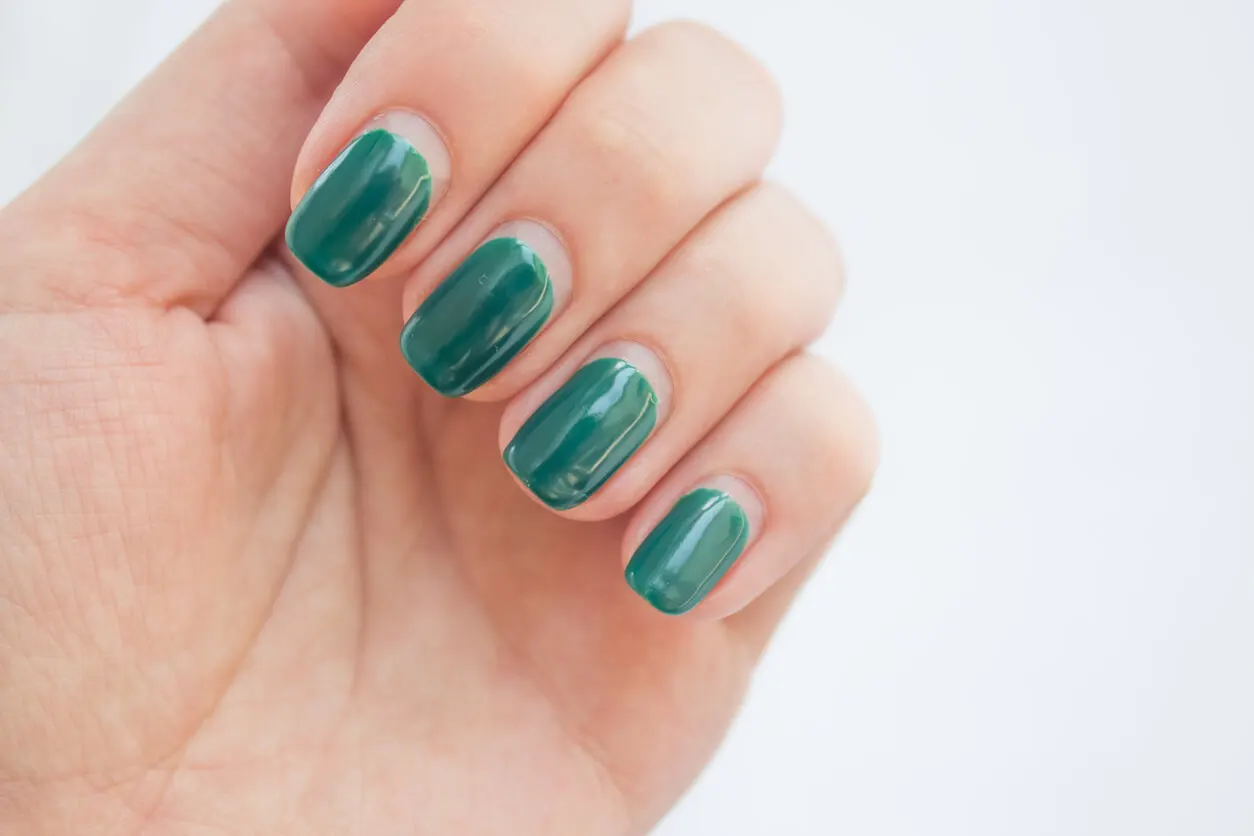
Gel nails differ from regular manicure in the products used. In this particular case, a gel polish is used that hardens with the help of an ultraviolet light lamp. In contrast, the traditional nail polish is only complemented by a protective layer of gloss.
Although the latter has the function of increasing the durability of the products, after a couple of days it starts to deteriorate. On the other hand, the semi-permanent polish used in gel nails can last up to 15 days.
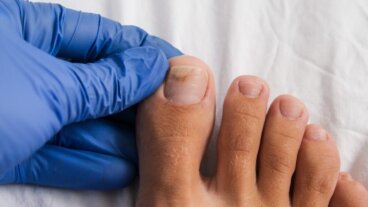
After that time, nail growth begins to show, the polish deteriorates and the shine begins to fade. In the case of false or acrylic nails, the same thing happens and small holes are produced between them and the cuticle, resulting in an untidy and unkempt appearance.
However, it’s possible to intervene and get them to look great again. However, removing these products at home isn’t easy. A regular nail polish remover won’t work. Nor is it appropriate to remove them by pulling or excessive filing.
How to remove gel nails at home
Of course, the first option is to go to a beauty salon to have a professional do the job. However, if for some reason this isn’t possible, there is a method to do it safely and inexpensively at home.
Materials needed
- A nail file
- Acetone
- Cotton balls
- Aluminum foil
- A cuticle pusher
- Vaseline or moisturizing cream
- Nail polish or calcium nail polish
Step 1: File the nails lightly
The first thing you should do is file your nails to create a more porous surface and make it easier for the acetone to penetrate. The key is to remove the shine and smoothness given by the polish.
After removing the powder, apply the petroleum jelly on the skin area, making sure that it doesn’t get on the nail. Its purpose is to provide a layer of protection to the skin to counteract the adverse effects of the acetone.
Step 2: Apply the acetone
Once you’re done with the previous step, your nails will be rough, dull, and scratched, which is perfect. However, the color of the polish is still present, since you removed the top coat.
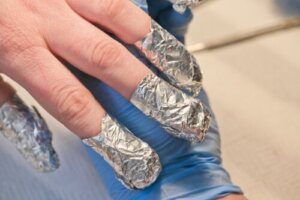
Next, separate 10 small pieces of absorbent cotton balls and soak them in acetone. Cover your fingertips with them, as if forming a cap. If you’d like, you can buy the patches used in the beauty salon, but cotton pads work perfectly.
Ideally, the cotton should stick well to the nail, so cut out 10 small rectangles of aluminum foil and place each of them on your fingers while exerting gentle pressure.
The professional variant of cotton pads and aluminum foil are special silicone thimbles that are filled with acetone. You dip your fingers in it for the indicated time and that’s it.
Similarly, there are manicure tweezers that replace the aluminum because they can hold the cotton swabs. Although these options are simpler, the duo of cotton and aluminum will give you an excellent result .
You should leave these “caps” on for 15 to 30 minutes to make the next step much easier.
We think you may also enjoy reading this article: 10 Beauty Treatments that Can Regenerate Skin Collagen
Step 3: Remove the foil and cotton pads
Once you’ve removed all the cotton pads, you will notice that the polish is still present. It’s just softened and should come off with virtually no help. Don’t rub the cotton on your nails as you would with regular nail polish remover.
If polish has been left on, use the cuticle pusher or stick to remove any remaining polish that may be be there. Carefully press from the root of the nail to the end of the nail.
It’s important to note that the nails are thinner and very sensitive, so we suggest that you be very careful when using a cuticle pusher.
Step 4 to remove gel nails
Apply a product to recover your nails in this final step. Then, proceed to trim your nails and file them before moisturizing them.
Your nails may not look as expected, so you can apply almond oil, coconut oil or any moisturizing balm. Once it’s absorbed, choose a calcium and vitamin polish to keep them hydrated. The shine of the repair polish will improve their appearance.
Like this article? You may also like to read: How to Clean the Beauty Blender or Blurring Sponge Without Damaging It
Remove gel nails at home: A good alternative
As you can see, in just four steps, you can remove the manicure you had at the beauty salon right at home. You’ll just need very few things that aren’t expensive at all and in about an hour, your nails will be impeccable again. So, are you going to try it?
All cited sources were thoroughly reviewed by our team to ensure their quality, reliability, currency, and validity. The bibliography of this article was considered reliable and of academic or scientific accuracy.
- Schwartz CT, Ezaldein HH, Merati M. Ultraviolet Light Gel Manicures: Is There a Risk of Skin Cancer on the Hands and Nails of Young Adults?. J Clin Aesthet Dermatol. 2020;13(7):45-46.
- OZUNA LEYVA, G. Y. (2016). Sustentabilidad en el cuidado y belleza de uñas(Master’s thesis, OZUNA LEYVA, GLORIA YAZMIN).
-
Roche, E., de la Cuadra, J., & Alegre, V. (2008). Sensibilización a acrilatos por uñas artificiales acrílicas. Revisión de 15 casos. In Actas Dermo-Sifiliográficas (Vol. 99, Issue 10, pp. 788–794). Elsevier BV. https://doi.org/10.1016/s0001-7310(08)74959-7
This text is provided for informational purposes only and does not replace consultation with a professional. If in doubt, consult your specialist.