How to Make Homemade Beer


Reviewed and approved by the nutritionist Maria Patricia Pinero Corredor
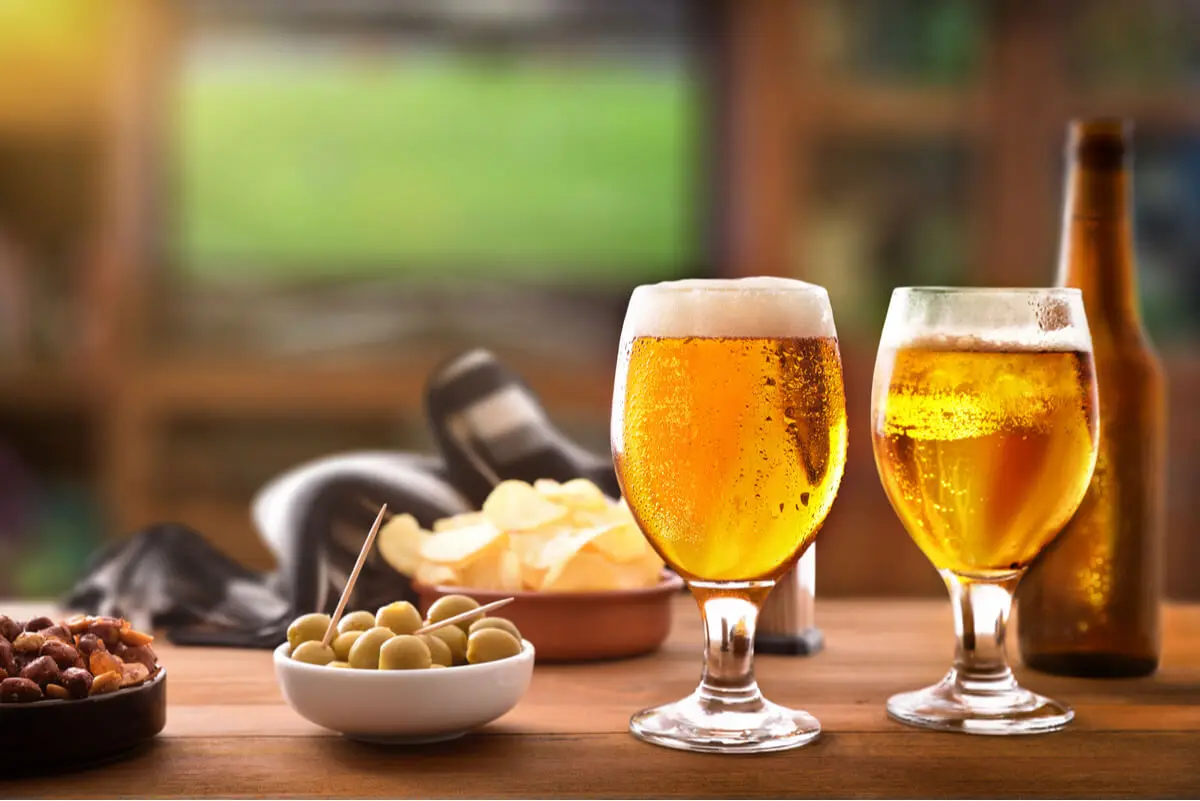
Beer is one of the most popular drinks in all kinds of celebrations, and for this reason, in many cultures the preparation of this drink has sparked a lot of interest. Would you like to prepare your own homemade beer?
In this article, we’ll share a recipe for you to prepare a tasty and healthy homemade beer in the comfort of your home. Are you up for it?
How to prepare homemade beer
Ingredients for 10 liters (18 pints)
- 3 kilograms (6.6 pounds)of malted barley
- 10 liters (18 pints) of water
- 12 grams (nearly half an ounce) of hops
- 6 grams (a quarter of an ounce) of yeast
- 10 teaspoons sugar
- An airlock
Don’t miss: How Healthy Is the Beer Diet?
Preparation
Stage 1: Mashing and cooking
- Grind the malted barley using a blender or food processor. All the grains should be perfectly ground.
- Filter the grain in such a way that no residue remains.
- Heat seven liters of water, but don’t exceed 67 degrees C (150 Fahrenheit). (It’s recommended to have a thermometer at hand).
- When the water has boiled, pour in all the ground grain and leave it on the heat for ninety minutes, stirring constantly.
- When the mixture is cooked, it should be passed through a filter to remove all the remains of the grains (this should be done at least twice).
- When the liquid is completely clean, it is taken back to heat for another hour.
- After thirty minutes of boiling, add the twelve grams (around half an ounce) of hops and stir well.
- Once the hour has passed, remove it from the heat and proceed to cool it immediately. To achieve this, place the pot with the preparation inside another pot containing cold water.
Stage 2: Fermentation

- Once this boiling process is finished, the beer is ready. Now all that remains is to put it in the container that has been chosen to ferment it and wait a couple of days for the mixture to ferment.
- The container can be a water dispenser or a glass bottle.
- When you have the mixture in the chosen container, you should add a little more water to complete the ten liters, this way you will get a much smoother beer. If, on the other hand, a stronger beer is desired, the ten liters should be used directly in the boiling instead of seven (12 pints).
- The yeast should be placed in the container the beer is to be stored in.
- Afterwards, the bottle should be capped with the rubber stopper that comes with the airlock. This will allow the carbon dioxide produced during the fermentation process to be released, without allowing air to enter. The airlock has a built-in compartment that must be filled with water up to the indicated level.
- When the above steps have been taken, you will notice that the water in the airlock begins to bubble, which means that the fermentation process is underway. After about six days the bubbles will have disappeared, and the beer is ready.
Another great article for you: 8 Benefits of Drinking Beer in Moderation
Stage 3: Bottling
- When the process is finished, you can start bottling the beer (only glass bottles should be used). A teaspoon of sugar should be added to each bottle before starting to add the liquid.
- When all the liquid is bottled, it should be left for six to thirty days for a second fermentation. After this time you can enjoy this delicious homemade drink.
What did you think of our homebrew beer recipe? We hope you’ll enjoy it with friends and family. Have you thought about a name for your beer yet?
All cited sources were thoroughly reviewed by our team to ensure their quality, reliability, currency, and validity. The bibliography of this article was considered reliable and of academic or scientific accuracy.
- GASTINEAU, D.F. DARBY, W.J, and TURNER, T.B EDS: Fermented food beverages in nutrition, Academic Press, New York, 1979, 537p.
- WebMD. The truth about beer. https://www.webmd.com/food-recipes/features/truth-about-beer
- WebMD. Barley. https://www.webmd.com/vitamins-and-supplements/barley-health-benefits
This text is provided for informational purposes only and does not replace consultation with a professional. If in doubt, consult your specialist.