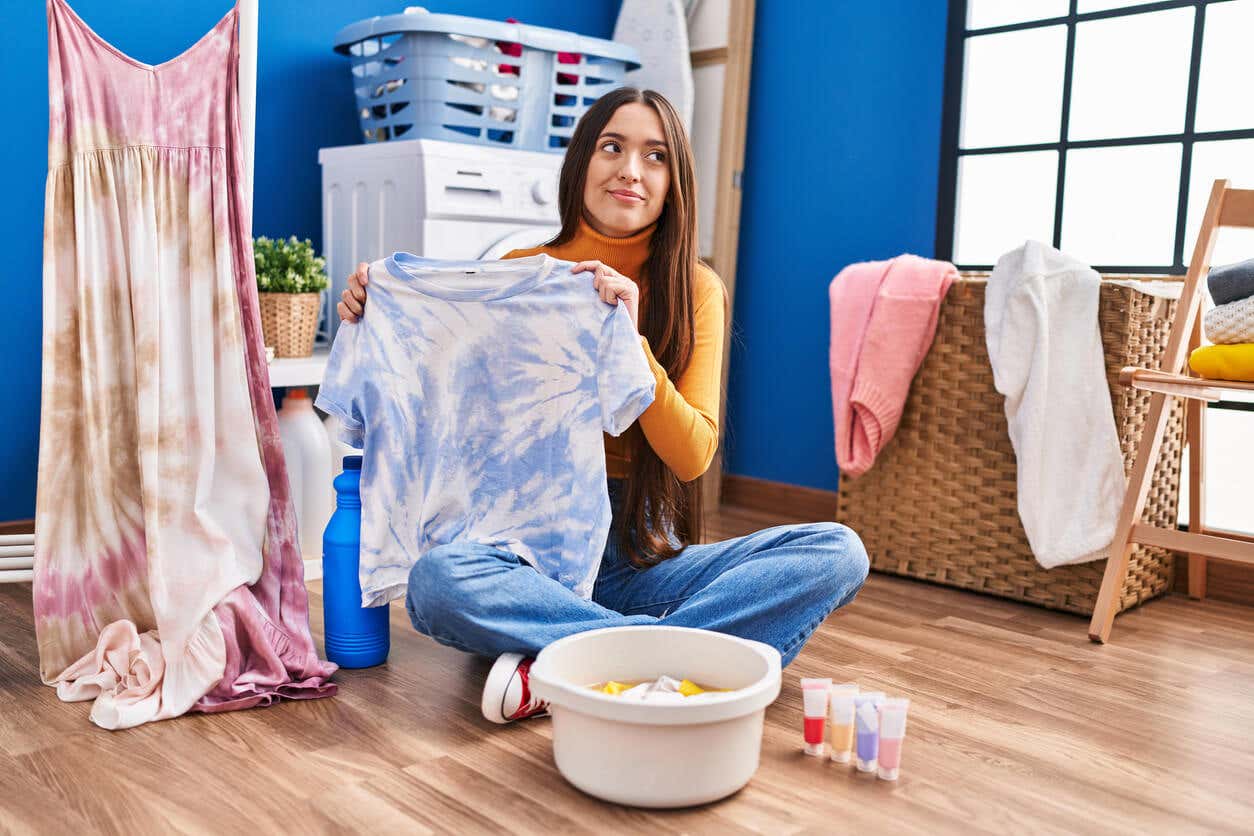
5 Innovative Ways to Tie Dye T-shirts at Home

Tie dye is a fun relaxed and eye-catching style way to change the look of your garments. T-shirts are particularly great for it.
Actually, the process is not very difficult. You just need some time and a little creativity to get the ball rolling on coloring any type of clothing, including shoes, handbags, and hats.
Would you like to make your own tie-dye clothing? We’ll tell you how to do it in this article!
What is tie-dye?
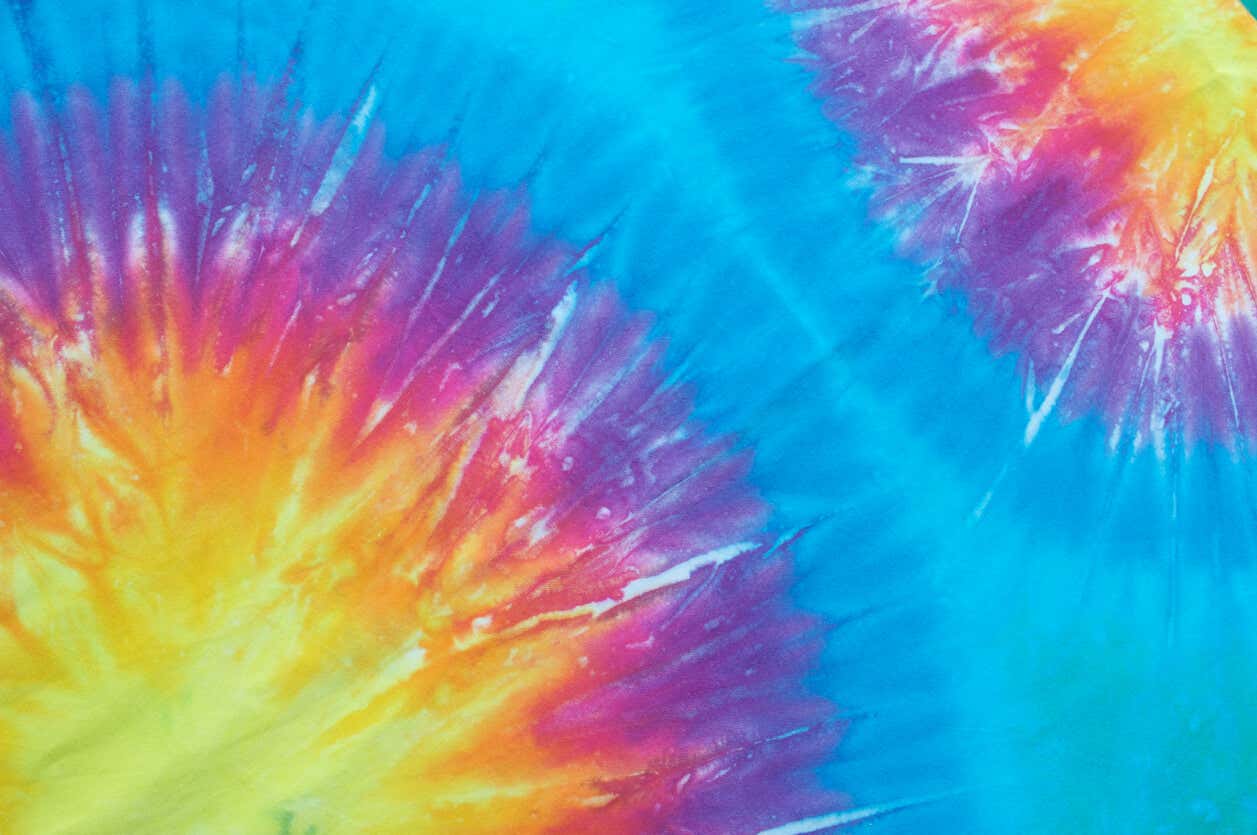
Fashion Magazine describes tie-dye as a technique in which a fabric is tied with strings and then dyed. The aim is that the textile absorbs color, except for the tied parts, to create various patterns.
This is not a recent trend, nor an old one that has been on hiatus. On the contrary, knot dyeing has always been used.
Musicians and hippies have been exponents of the trend since the 1960s. Nowadays, the designs are often quite innovative, without losing the classic essence.
In fact, Patrones magazine reported in an article that the demand for tie-dye products in the market is fast and dynamic. In its favor, there’s no need to wait for famous designers to launch a collection. With the rise of do-it-yourself (DIY), you can carry out the tie-dye project of your choice at home.
Tie-dye is a cool trend that can be done and worn by children, youth, and adults.
What you need to keep in mind when making tie-dye T-shirts
Before moving on to the garment dyeing phase, certain measurements are essential. As for the fabric to be painted, make sure that it’s free of stains and grease. It’s best to wash it prior to dyeing.
If you want, you can use dye fixatives so that the tie dye lasts much longer. Other considerations worth mentioning are the following:
- Space: Choose an area to work in that is not in the living room, kitchen, or bedroom, as there is a risk of staining. Avoid disasters by covering the area with plastic.
- Pigments: It’s a good ide to use chemical dyes, but it’s an even better idea to work with natural pigments. Besides being environmentally friendly, they pose less risk of skin diseases. You can ask for them in stores.
- Temperature: Although the tie-dye style involves the final rinse with cold water, at the beginning, you will need to use hot water, so take precautions not to burn yourself. This is because you prepare the pigments in high-temperature water.
Like this article? We think you may also like to read: Ways To Reuse Your Old Clothes
How to tie-dye T-shirts
In the case of colored clothing, it’s possible to do tie dyeing without using pigments. The secret is to let the garment tied with rubber bands sit for 20 minutes in a mixture of water and bleach.
However, the essence of tie dye is to play with the varied coloration and patterns generated after tying. You then get the visual effects of tie-dye with the procedure that we will indicate next.
You will need:
- Salt
- A bucket
- Gloves
- A T-shirt
- Dye powder
- Hot and cold water
- Rubber bands or elastic bands
What you should do
Fill the bucket with cold water, add the dyes previously diluted in the hot water, and 2 tablespoons of salt per liter of water. Tie the garters to the T-shirt, according to the shape or pattern you want to wear.
The next step is to soak the garment in the dye mixture and let it sit for at least a whole day, without removing the garters. Don’t forget to wear gloves when handling the pigments.
After this time, untie the shirt by cutting the elastic with a pair of scissors. Rinse in cold water, making sure that after several “dips”, the rinse is clean.
Then you can put it in the washing machine, without any other clothes. Let it air dry or if you want to intensify the tones, use the dryer.
Instead of a bucket, you can also fill a plastic bag with the tie-dye mixture.
Creative ways to design tie-dye t-shirts
Patterns magazine emphasizes that tie-dye fabric patterns are easy to learn. There’s a wide variety and they allow for creative freedom. So, what are the most common techniques? Here they are:
1. Make stripes for tie-dyeing tie dye shirts
Roll the shirt from the bottom edge to the collar, making it look like a tube. Around the newly formed cylinder, tie a few strings or rubber bands.
The tighter you adjust, the more horizontal stripes. If you prefer vertical lines, then twist the shirt from right to left or vice versa. Next comes the dyeing!
2. Assemble spirals
Spirals are popular in dyeing, both for the design and the ease. What you have to do is to spread the shirt on a table and put in the middle of the fabric your index finger and thumb; the idea is to execute a circular movement to get the helix, without wrinkling the garment.
Completed at least 5 turns. Then, proceed to tie a minimum of 3 garters, ensuring that the shirt gets a round shape. Paint with an applicator or by “drowning” the fabric in a bucket containing the dye.
3. Crumple the piece
Painting from crumples is one of the tie-dye strategies known as crumpling. The pattern consists of crumpling the piece as many times as you want and tying it in small piles to form several sections.
Once you’ve secured enough with the garters, you move on to dyeing. In this case, you should use only one dye, because what you are looking for is a marbled effect in which the white protected by the elastic makes the contrast.
4. Form rosettes
This tie-dye method aims to paint flower-like polka dots by scattering them at different points of the T-shirt. Then, as with all tie-dye strategies, use the rubber bands to separate each polka dot.
The space you leave in each tie defines the size of the pattern: the greater the distance, the larger the hoops will be. Then, after tying the rubber bands, dip the fabric in color. In addition, depending on your taste, it’s feasible to use one or several pigments.
5. Pinch the fabric
To do this, locate the center point of the T-shirt right in the area that usually covers the chest. Then, start pinching and adjusting garters from that middle point, forming a vertical rope.
The top of this sort of rope will be the center or bull’s-eye. Then, carefully dye each section in different colors. The result is called bullseye and is one of the tie-dye classic designs.
We think you may also like to read this article: 4 Ideas to Make Your Old Clothes Look Brand New
The advantages of DIY tie-dyeing
DIY tie dyeing has benefits that go beyond customizing clothing. One of these benefits is fun since this is an activity you can do with the family. It’s also feasible to integrate the dynamics as an attraction for children’s parties, so that the kids can enjoy the process.
And, if that weren’t enough, you can also take advantage of this art to give a new opportunity to clothes that you may have thought of discarding. Thus, look for old T-shirts and start practicing tie-dyeing; you will see that you will master the technique in no time!
All cited sources were thoroughly reviewed by our team to ensure their quality, reliability, currency, and validity. The bibliography of this article was considered reliable and of academic or scientific accuracy.
- Pratiwi, R. E., & Suhartiningsih. (2016). El efecto del tiempo de curado en el tie dye terminado en telas de algodón. Revista de Moda, 5(3), 60–80. https://www.mendeley.com/catalogue/da9cefc5-3922-35b2-9af1-c9c980c5b25f/
- Wardoyo, S., & Widodo, S. T. (2016). Innovación en el diseño del motivo Tie-Dye en la ciudad de Yogyakarta. Patrones, 5(1). https://doi.org/10.24821/corak.v5i1.2378
- Widodo, ST (2013). Tie-Dye textil artesanal (Tie Dye): Un medio de exploración estética popular. Patrones, 1 (2). https://doi.org/10.24821/corak.v1i2.347