How to Plant Peppers At Home
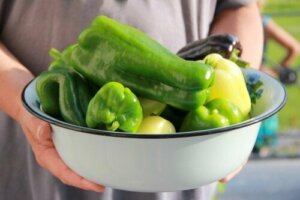
Have you ever wanted to plant peppers?
Planting peppers at home is a way to be in harmony with nature because you can do so without using chemicals in their cultivation. You’ll get good results as long as you respect some basic principles.
The first thing to keep in mind is the importance of reducing the risk of pests. This will be your main priority. In the same way, don’t forget that peppers need significant amounts of nutrients and heat.
Let’s take a closer look.
Materials you need to plant peppers at home
Since there’s a wide variety of bell pepper seeds that differ in size, pigmentation, and flavor, you can buy the type you like best to season and accompany your dishes.
Here’s what you need to grow them at home:
- Bell pepper seeds of your choice
- Seedbed substrate
- Seedbeds
- An electric sprouter (optional)
- A hoe
How to plant peppers at home
Peppers are a plant that’s sensitive to the cold and should be planted outdoors until well into spring. By waiting until this point, you decrease the risk of chilly winds eventually ruining your crop.

1. Get a heated seedbed
In places where the temperature’s below 80 degrees Fahrenheit, it’s advisable to use a heated seed sprouter. It should be placed inside your house, near a window that receives sun.
This will protect the bell pepper seeds from the cold and imitate the arrival of spring-like conditions. If you live in a warm area, then just use a conventional seedbed.
2. Start planting
Pour the substrate or fertilized soil in the seedbed and proceed to introduce 3 or 4 seeds at a depth of 2-3 millimeters per seedbed. Water with clean water until the plant germinates, and then choose only the most robust and largest sprouts.
Also, avoid placing the seeds too close together. Otherwise, you’ll encourage the development of weak plants that won’t thrive.
3. The sun’s the best ally
Between 8 and 20 days after sowing, you’ll see that the bell pepper seedlings begin to germinate. At this point, the sun’s rays and ventilation are imperative to obtaining good quality fruits. The bell pepper plant needs daily lighting.
4. Transplant
When the first two leaves appear and the stalk begins to strengthen, it’s time to consider transplanting it to a good-sized pot or your garden plot, if you have one. Before this step, you should be sure to enrich the soil with compost.
If you choose a vegetable garden as your plant’s new home, make sure that the new soil for the bell pepper has a temperature of 64 degrees Fahrenheit. Otherwise, the bell pepper seedling may perish.
Read also: 3 Common Mistakes when Making Homemade Compost
5. Leave space between your plants
Once your bell pepper plants have reached 6 inches or more in height, with 5 or 6 leaves on the stem, you should make sure that they’re 16 to 20 centimeters apart. This way, they’ll have enough space to develop. In the case you’re planting them in a pot, it’s best to plant one per plant.
6. Water with moderation
Excess water’s detrimental to many plants and peppers are no exception. This is because this vital liquid ends up rotting the root by producing asphyxia in compacted areas.
So, while it’s true that you must make sure that your plant’s kept moist, it’s also true that you must make sure that it has good drainage to avoid waterlogging.
7. Wait and then harvest
Once you’ve followed these steps, all you have to do is wait for the peppers to sprout and for them to be large enough and ripe enough to be harvested by hand.
Physicochemical conditions and tips for planting peppers at home
If you want to grow your own peppers, keep in mind that this plant will demand nutrients, sun, and watering. Keep reading to find out more details about growing this variety at home.
They need a place that gets plenty of sunlight
At least 6 hours of sunlight per day is ideal. The appropriate temperature for good germination, flowering, and subsequent cultivation is between 20 and 26 degrees Celsius.
In case the temperature varies significantly at night, you should use a thermal blanket that will help you keep warm during the cold hours, as well as protect the plant from rain and possible predators. When summer arrives, you can take it outdoors, either in pots or in your vegetable garden.
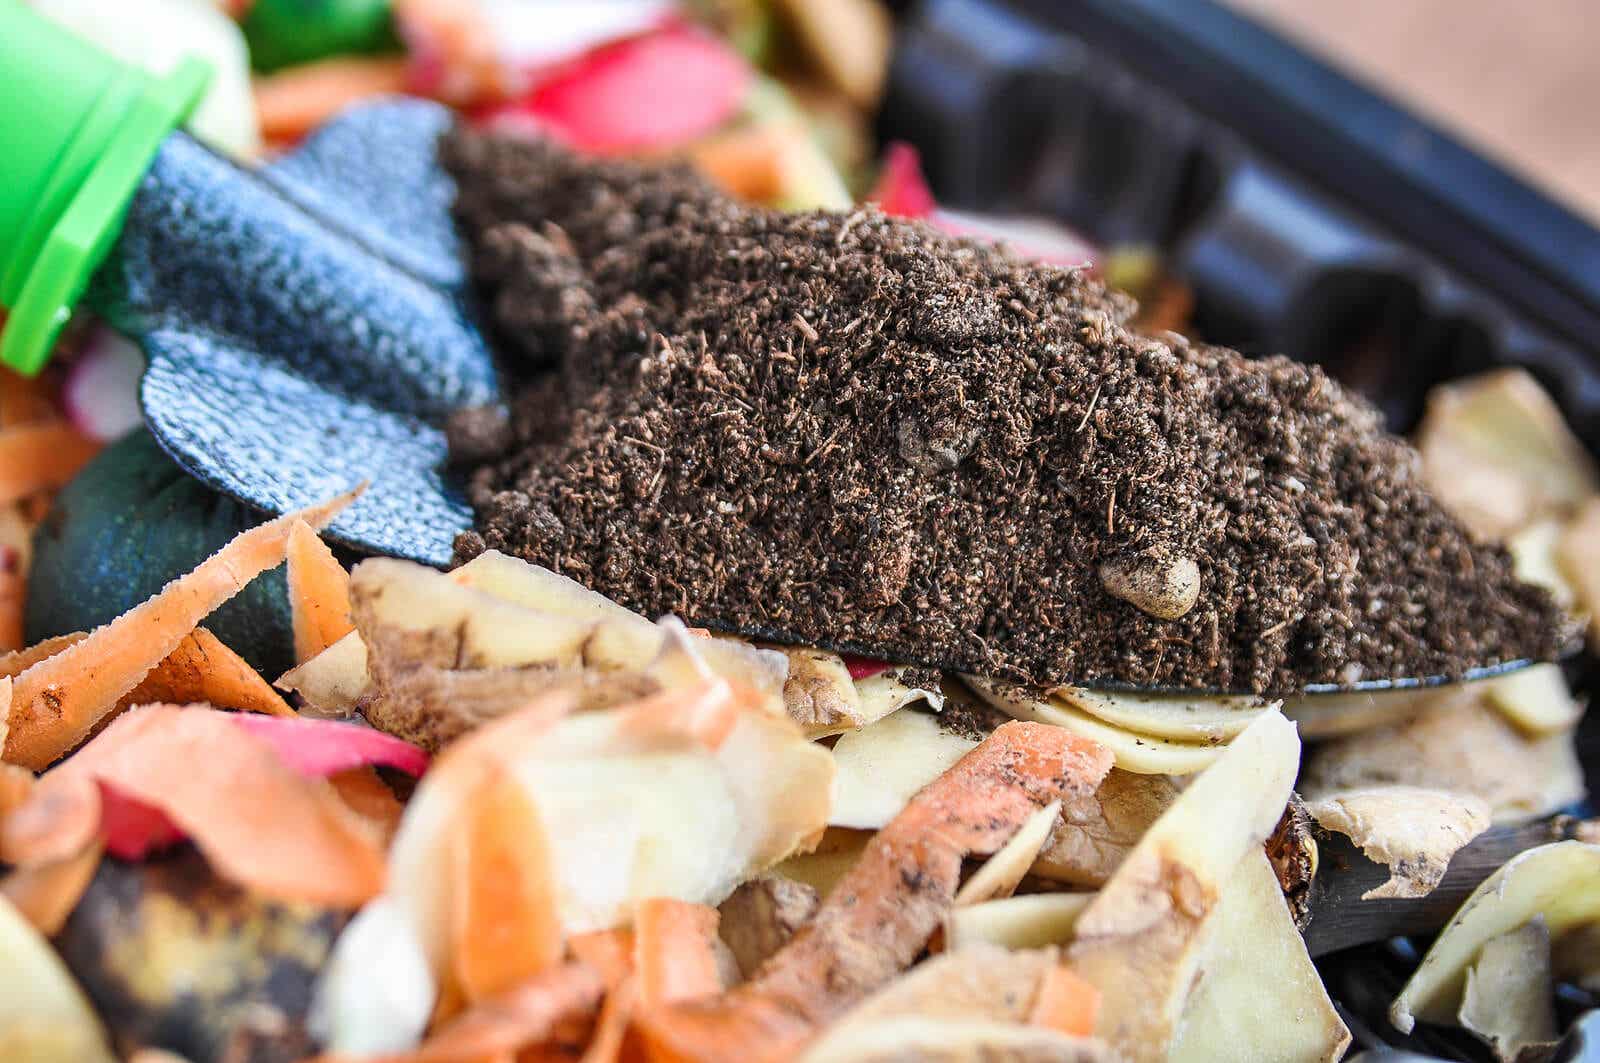
You must meet the nutritional demands of pepper plants
Peppers belong to the Solanaceae family (nightshades), and these plants require nutrients to bear good fruit. Potassium’s an element that can’t be lacking in their fertilization, so including comfrey leaves can raise their levels.
In addition, you should keep in mind that the absorption of this mineral will be essential to determining the pigmentation and quality of the fruits, so its demand will increase gradually until flowering.
In the same way, nitrogen’s a very important component during the first stages of the crop. But, unlike potassium, its demand decreases after the first fruits are harvested. Keep in mind that if you plant peppers in the dirt that was previously used to gr0w peas, it’s a good idea to supply necessary nitrogen.
Therefore, phosphorus, sulfur, and magnesium should all be part of the fertilizer, so fertilizers in the form of soluble solids and liquids are recommended.
Take into account the pH of the soil
Although this crop can usually withstand acidic conditions up to 5.5 and sandy soils with a pH close to 8, it’s advisable to measure the pH of the soil, taking into account that the optimum values should be between 6.5 and 7.
Carbonated water’s a good option to plant peppers
Make sure that the substrate is well-drained, aerated, and fluffy. Keep in mind that the soil should feel moist to the touch.
Another way to tell if your plant needs water is to look at the leaves; if the leaves look dull and the soil’s dry, it probably needs water.
Carbonated water can be used as a substitute for nitric acid. It also provides the soil of your crop with the necessary acidification and, at the same time, facilitates the solubility and correct absorption of nutrients.
In summers with intense sunshine, you should water the plant generously daily. Otherwise, do so every 2 or 3 days. Carbonated water can also be interspersed with natural water.
Plant peppers at home without using chemicals
By planting your own peppers, you can get chemical-free fruit. So, if you decide to plant in pots, place stones in the base and then sand to control the humidity. In the same way, before transplanting or taking the pot to the garden, you should get it acclimated, exposing it gradually to the external climate.
Also, the use of sticks or wooden poles is a good idea to keep your plant upright. This, in turn, favors ventilation and light.
Another practice that can help your plant is pruning, which reinforces stem thickness, optimizes air circulation and improves fruit quality. There are many means of pruning that you can apply, but essentially you need to remove the parts of the plant that aren’t as vital.
Bell peppers can be neighbors to garlic and cabbage, as they get along very well. However, you should never plant them near cucumbers, nor can it share space with fennel and kohlrabi.
All cited sources were thoroughly reviewed by our team to ensure their quality, reliability, currency, and validity. The bibliography of this article was considered reliable and of academic or scientific accuracy.
- Monge-Pérez, José Eladio. “Efecto de la poda y la densidad de siembra sobre el rendimiento y calidad del pimiento cuadrado (Capsicum annuum L.) cultivado bajo invernadero en Costa Rica.”
This text is provided for informational purposes only and does not replace consultation with a professional. If in doubt, consult your specialist.