7 Tips to Hang Pictures Without Ruining the Wall
Hanging your favorite pictures without ruining the wall isn’t only possible, it’s also easy and economical. If you’ve got some painting or other wall art lying around, we’ve got an excellent proposal for you. We’re going to share some tips to give your personal touch to your home and hang pictures on your wall without ruining the paint or the plaster.
There are many reasons why you may be afraid of damaging the walls and, therefore, you’re hesitant to hang anything up. For example, you may not have a drill. Or maybe you’re renting a place and your contract won’t allow you to make holes in the wall. So, let’s go over the ways to hang pictures without ruining the wall.
Tips to hang pictures on the wall
Before choosing the most suitable method, it’s important to know how much the pictures weigh. Based on this, we’ll choose the best way.
Pictures are light if they weigh up to 10 pounds. Medium weights range from 10 to 24 pounds, while heavier ones can weigh up to 50 pounds. It’s important to keep these values in mind when choosing which technique to use.
Also, you have to know what material the wall’s made of because not all products for hanging are suitable for plaster, brick, or wood.
Once you know the weight and the material of the wall, it’s time to decide which method you want to use.
You may be interested in: Ideas to Make a Wall Organizer for your Accessories
1. Hooks
First on our list, there are famous adhesive hooks that you can attach to the wall. Just keep in mind that they support pictures up to 10 pounds. They’re a very simple option that you can also use to hang hangers, jewelry, towels, and purses.
2. Picture hangers
These are small plastic hooks with two to three teeth. In this case, the wall must be made of plaster or plasterboard.
You only need a hammer to tap them in order to introduce the teeth into the wall. They can hold up to 10 pounds, but if you put 2 hooks together, you can hang a picture weighing up to 20 pounds. When you want to remove the picture, you will see that the damage to the wall is minimal.
3. Non-mark hangers
Although they work in the same way as the previous ones, their shape is different. They consist of 3 small nails that are attached to a plastic device. Although the holes they leave are deeper, they don’t reach those of the drill.
4. Velcro strips
These are quite strong and support medium-weight frames. However, when removed, they can damage the paint or wallpaper.
Adhesive strips are a similar alternative. Their use is recommended on tiles because, when removed, the glue could leave marks.
5. Adhesive
You can look for a special adhesive that’s similar to silicone and is sold in tubes. This method’s perfect if you want to hang pictures and other objects on tiles, glass, and other similar surfaces.
You need to place a drop on each corner of the picture, put it on the wall, take it out and wait a few seconds before hanging it for good. The marks must match. When you remove the picture, the adhesive remains are very easy to remove.
6. Double-sided tape
Double-sided tapes are a very practical and easy-to-use alternative. They come in different types and the most resistant one can hold up to 15 pounds.
7. Shelves
We’re not talking about shelves that you have to buy and put up yourself, but natural shelves that you can find in your home. For example, over the fireplace, on the couch, or on top of a decorative table.
Tips and ideas for decorating with pictures
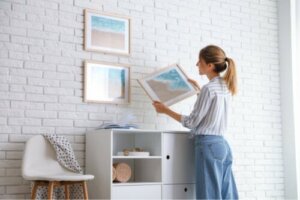
Now that you know how to hang pictures without ruining the wall, let’s see some tips on how to make them look perfect. The exact place, how to arrange them if there are more than one, and the ideal height are details that, if we know how to go about them the right way, will save us time and effort.
Mark the point where you want to hang the frame. First, you must see what type of attachment it has, whether it’s a ring or a wire. In the case of the former, measure from the top of the frame to the ring and from the ring to the bottom. Then transfer those measurements to the wall and mark the place where the ring is located.
For those that are attached with a wire, stretch the wire and measure the highest point it reaches. Then measure from that point to the top of the frame. Once you’ve taken these measurements, you’ll know where to mark on the wall.
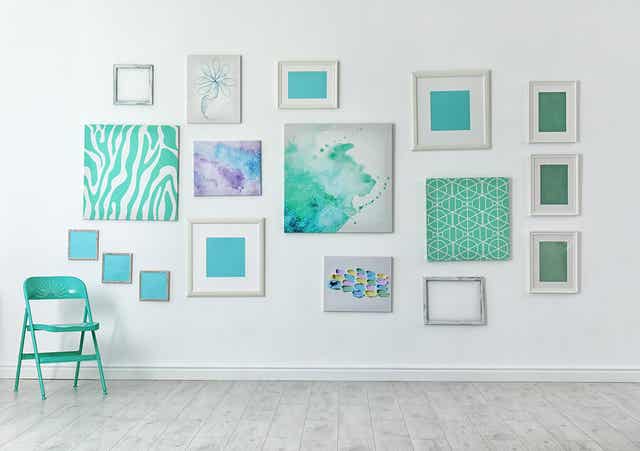
Regarding the height at which the pictures should be hung, we can establish some basic parameters. A good tip is to cut out squares and rectangles the size of the pictures you want to hang and stick them on the wall with tape. This will give you an idea of how the originals will look.
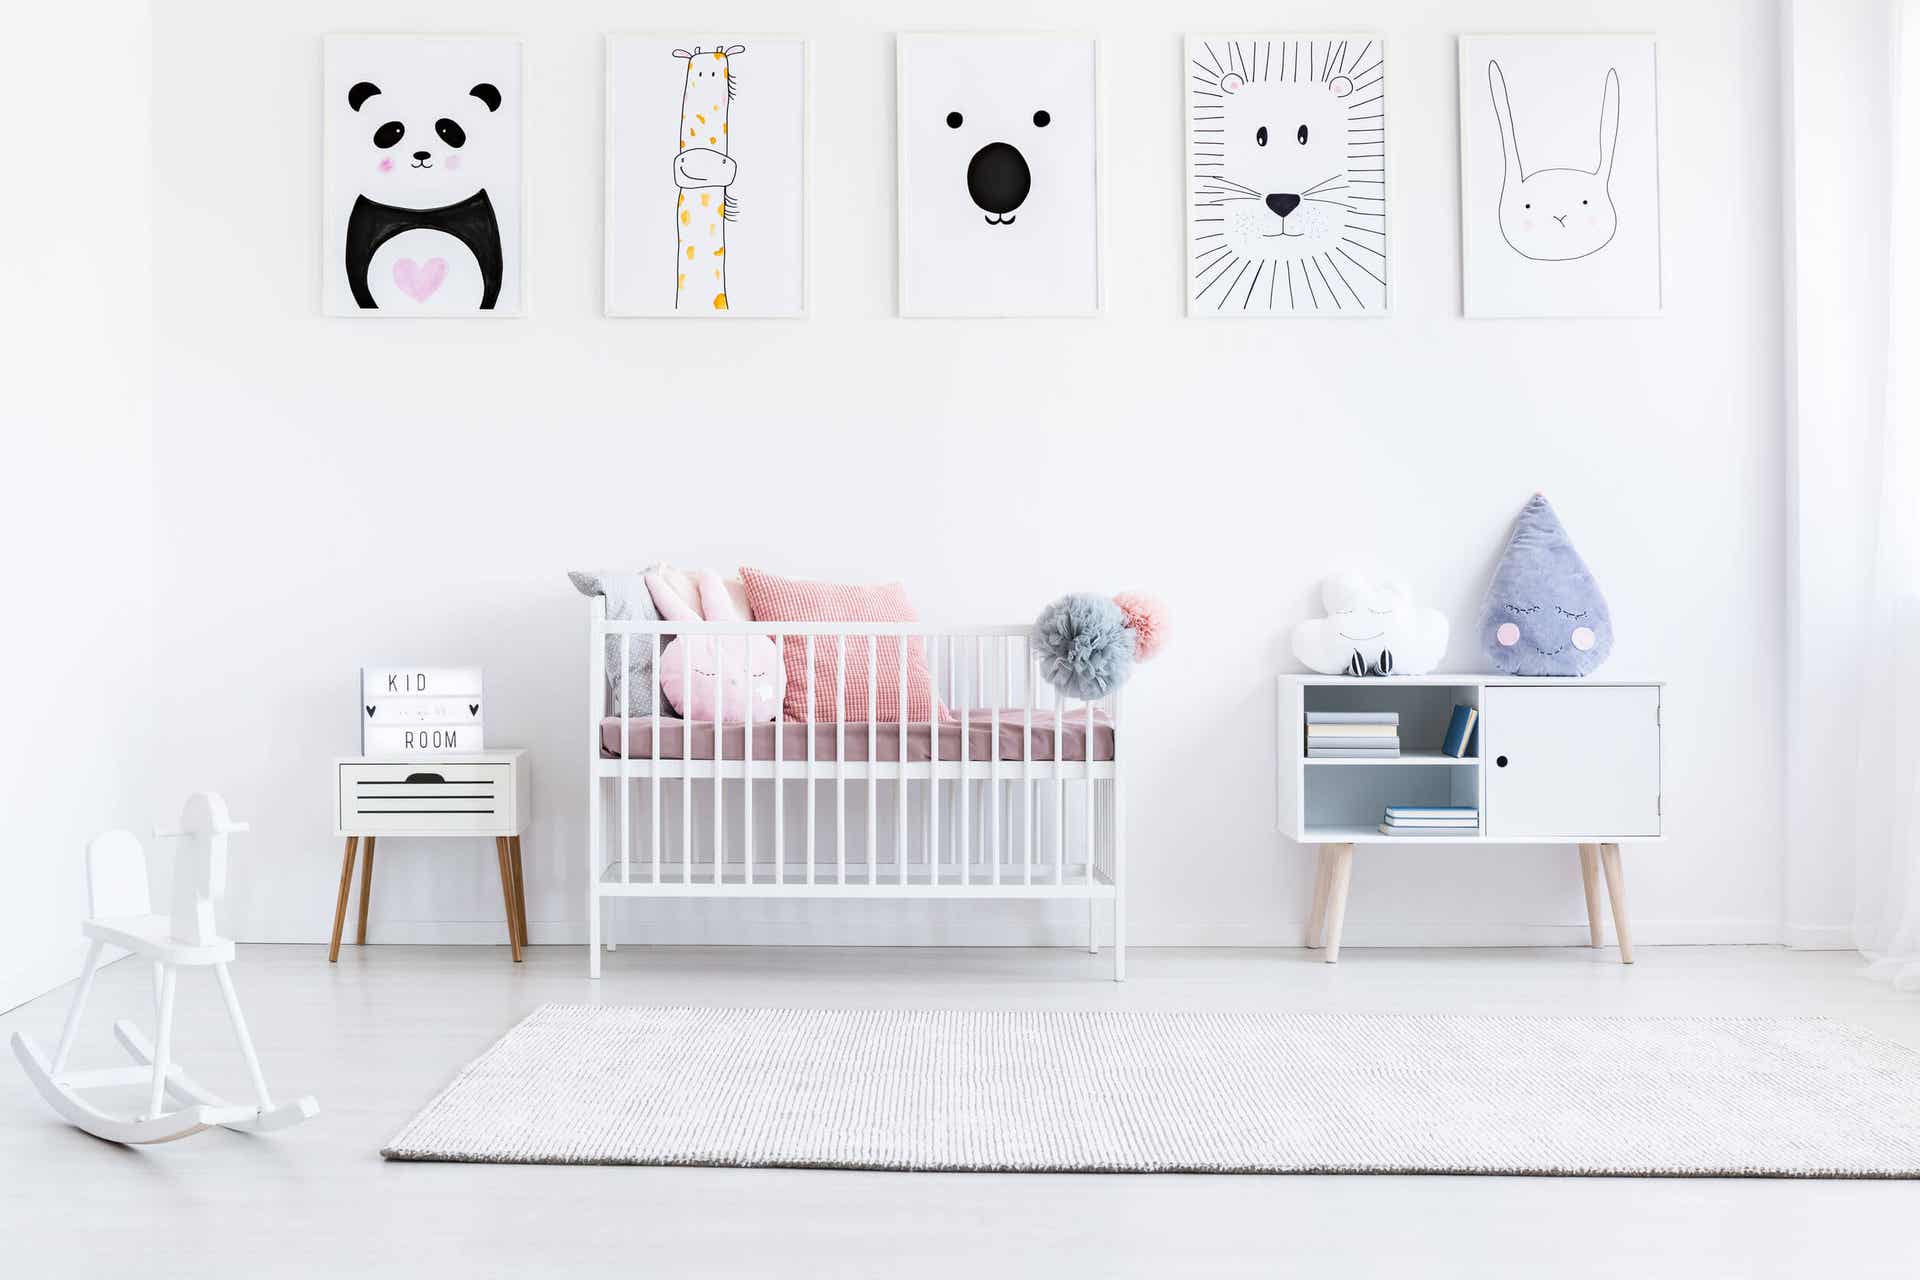
The picture should be just above eye level. Generally speaking, 5′ 6″ would be fine. However, if you want to place the painting above the headboard of your bed, for example, the artwork should be closer to it than to the ceiling, about 12 inches.
The distance between the pictures should be between 2 and 4 inches. We recommend you use the trick of fake pictures made of paper before making holes in the wall.
It is possible to hang pictures without ruining the wall
As you’ve seen, there are many options when it comes to hanging pictures without leaving your wall in a bad condition. Surely you’ll find the most suitable technique for you, your pictures, and your walls.
Remember that there should always be a balance in the composition if you’re hanging several pictures or objects. A horizontal arrangement is ideal for hallways or for the wall above where the couch is. Always try to achieve harmony when it comes to shapes, textures, and colors.
All cited sources were thoroughly reviewed by our team to ensure their quality, reliability, currency, and validity. The bibliography of this article was considered reliable and of academic or scientific accuracy.
- Ventura, A. T., & González, S. C. (2006). Ideas prácticas en decoración. Lexus Editores, Lima (Perú)..
- Schittich, C. (Ed.). (2013). Interiores: espacio, luz, material. Walter de Gruyter.
- Dong, W., & Ríos Garza, C. R. T. (2000). Técnicas de presentación en color: Una guía para arquitectos y diseñadores de interiores. McGraw-Hill.
- Posada Monsalve, A. M., & Laverde Torres, D. C. Decoración de interiores para hogar y oficina: www. decoralo. com.
- Gerling, H. (2000). Alrededor de las máquinas-herramienta. Reverté.
- Hernández-Minguillón, R. (1995). Silicona y construcción.